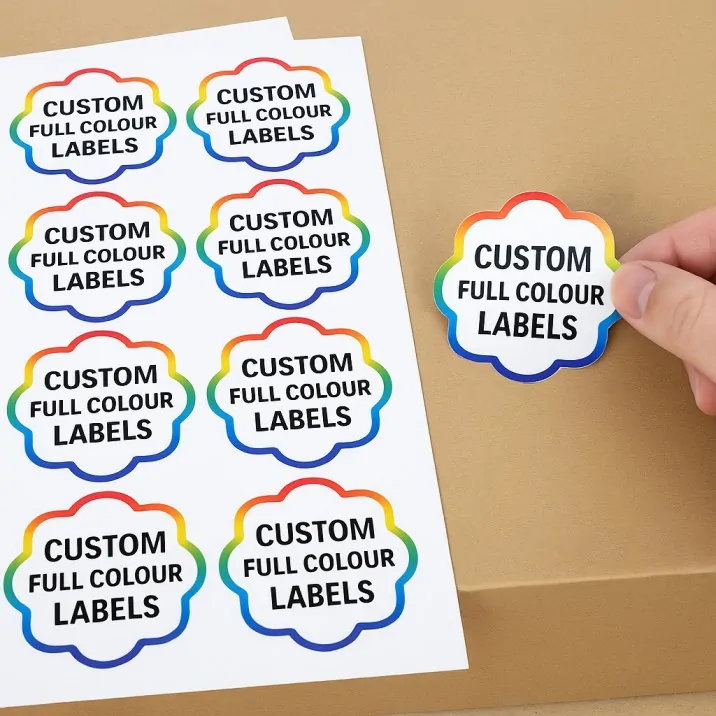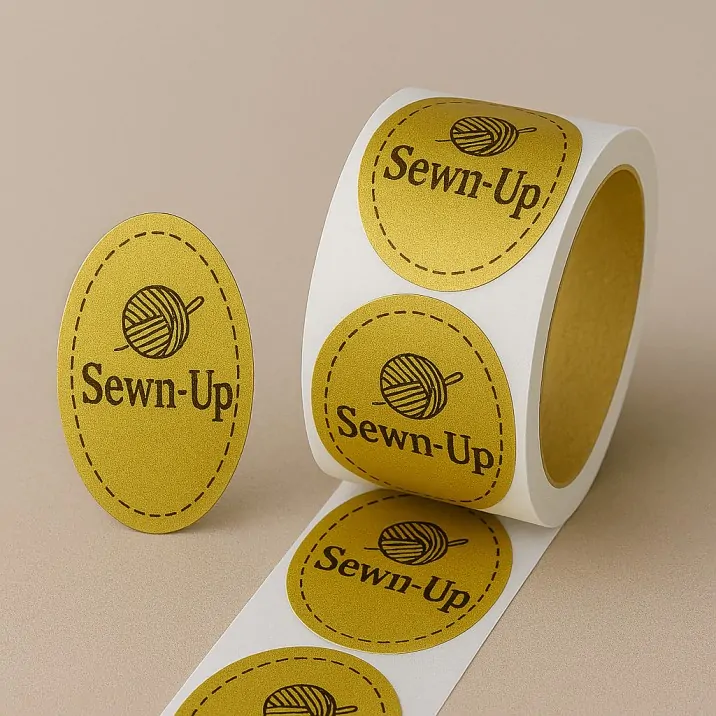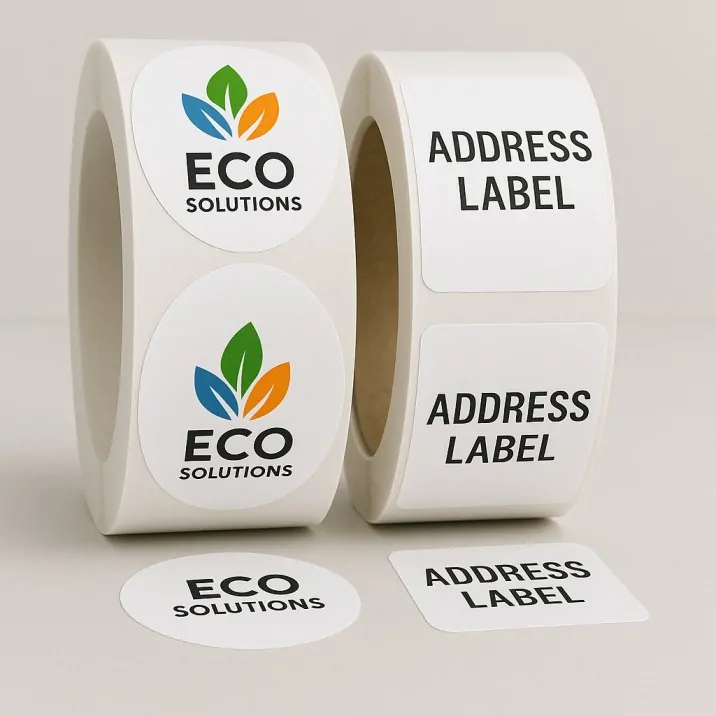

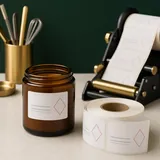
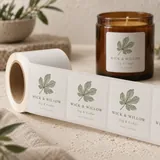
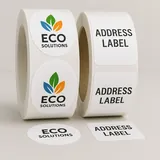
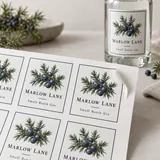
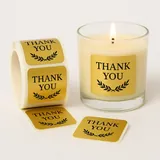
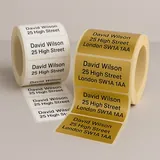
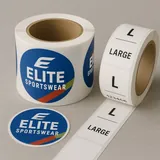
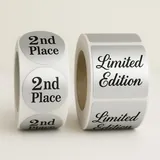

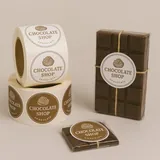
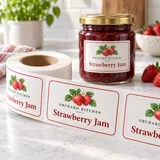
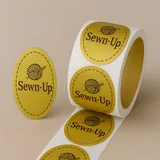
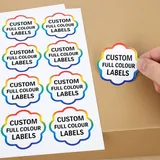
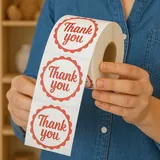

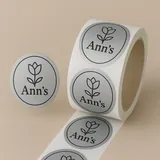
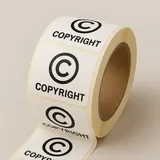
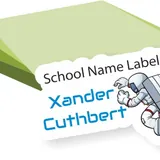
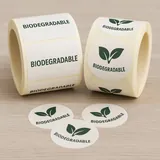
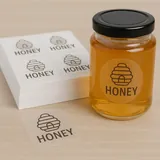
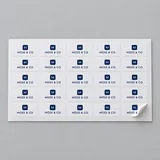
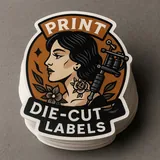
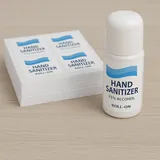
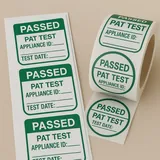
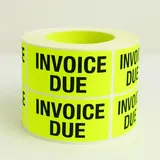
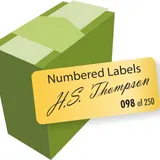
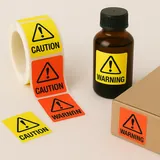
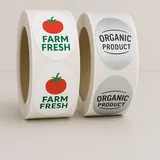
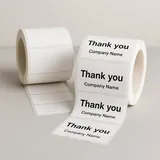
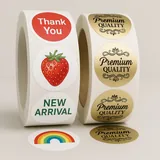
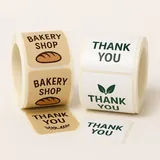
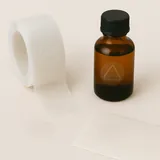
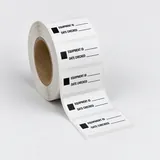
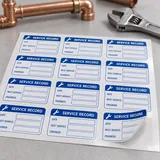

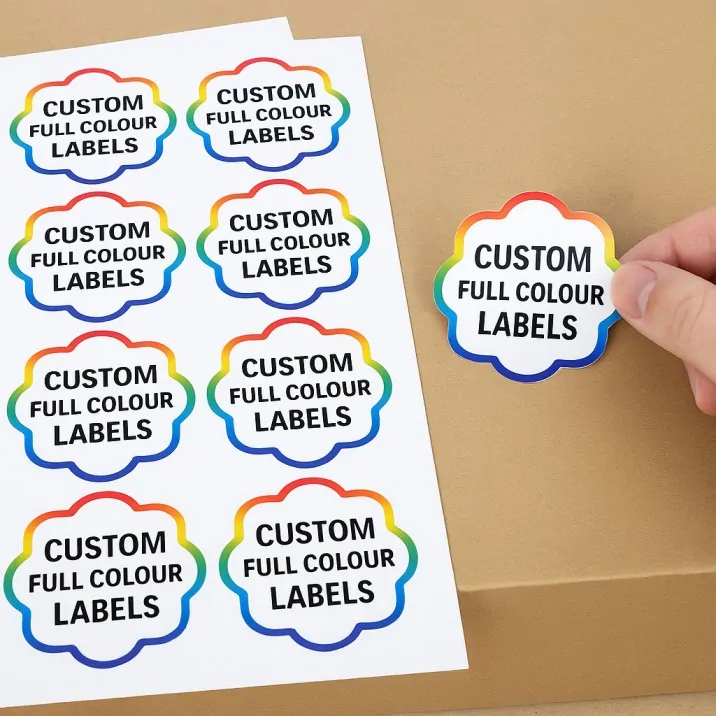
The online label designer lets you choose a label specification and add your artwork. Start with the surface and dimensions, then use the current options shown in the builder. Older screenshots may show a previous version of the interface.
1. Measure the space
Use a ruler to measure the area where the label will sit. Avoid curved shoulders, seams or textured areas that could prevent a smooth application. Make a paper mock-up if you are unsure about the size.
2. Choose the label type
Open the label designer and select the type that suits your job. The available shapes, sizes and materials depend on that choice, so do not assume every combination is available.
3. Set the quantity and check the price
Choose from the available quantities and review the total. Compare the material and supply format before ordering; two labels with the same dimensions can have different specifications and prices.
4. Add your artwork
Upload a clear logo or design, or use the tools available in the designer. Keep text readable at the finished size. If your choice uses a single print colour, check how the artwork will reproduce rather than expecting a full-colour photograph.
5. Review before checkout
- Confirm dimensions, material and supply format.
- Check spelling and contact details.
- Check alignment and readability at actual size.
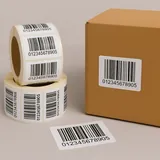
- Keep barcode quiet zones clear.
- Review delivery details and your deadline at checkout.
For a complicated design or an unfamiliar material, contact the team before committing to a print run. The builder preview is useful, but it does not test adhesion or chemical resistance on your finished product.
Read the next guide
For stories & history, continue with The Birth of Stickers.